Creating a safe and durable gym space involves choosing the right type of flooring. Not only does this improve the aesthetic of your gym, but it also enhances comfort, reduces injury risks, and protects the floor underneath from heavy equipment. The good news is that there are various gym flooring materials available, each with specific installation methods to suit different needs and environments.
In this guide, we’ll discuss the most common types of gym flooring materials, including rubber tiles, interlocking tiles, rubber sheet rolls, synthetic turf, and puzzle jigsaw tiles. For each type, we’ll provide clear, step-by-step installation instructions to help you achieve a professional finish.
Table of Contents
Types of Gym Flooring and Their Installation Methods
Each type of gym flooring has unique properties and requires specific installation techniques to maximise performance and durability. Here’s an overview of the most popular options and how to install them.
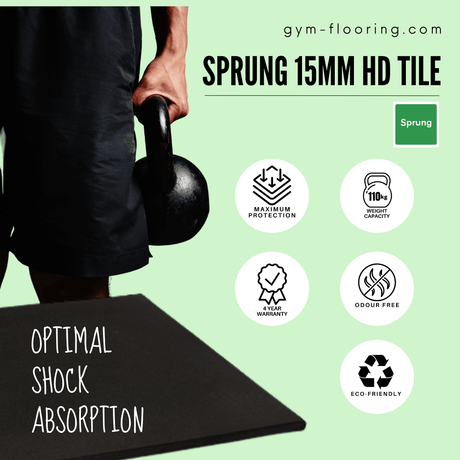
1. Standard Rubber Tiles

Rubber tiles, such as our PRO Rubber Tiles collection, are a favourite choice for gyms due to their durability, shock absorption, and ease of cleaning. They can be installed in two ways: using compression or with adhesive.

Method 1: Using Compression
1. Measure your space - determine how many 1m x 1m tiles you will need for your space. Include 10% waste to ensure you order enough tiles to cover the complete area.
2. Prepare the Installation Area - carefully clean and remove any debris. Knock-in or remove any protruding nails head, screws or staples.
3. Acclimatise the Tiles - Allow the rubber tiles to acclimatise for 24 hours prior to installation.
- Tiles will be installed in block/brick pattern to achieve straighter lines.
- Tiles will be fitted beginning in the centre of the room for an even fit.
1.Draw a straight line down the centre of the room using the chalk line and place the first tile on the line at the start of your row. If this is beside an entryway, cut the tile accordingly to fit the door frame so the tile can be notched into place at this side. Remember to measure accurately to achieve a snug fit.
Cutting the Tiles
Top Tip:
"Use a non-retractable stanley blade with plenty of spare blades to hand. The blades will need replacing several times throughout the cutting process"
Michael Welsh (Sprung Technical Advisor)
Method 2: Using Adhesive
In areas where a more permanent fit is required, rubber tiles can be installed with adhesive. Follow the adhesive manufacturer’s instructions for the best results.
2. Interlocking Tiles

Interlocking rubber floor tiles feature plastic inserts or pegs for a secure, seamless fit.
Here’s how to install them:
- Acclimatise the tiles in the installation area for 24 hours.
- Clean the floor thoroughly to remove any dust and debris.
- Mark a chalk line in the centre of the room and start laying the first row along it.
- Attach connectors: Flip the first tile upside down and insert connectors into the designated holes, then position it right side up about 95cm from the wall along the start line.
- Prepare additional tiles with connectors on 2-3 sides and align with the previous tile.
- Press connectors with a rubber mallet to close all joints securely.
- Lay in a brick-bond pattern: Continue laying tiles row by row toward the room’s outer edges.
- Measure and cut edge tiles to fit, leaving a 5-10mm expansion gap as needed.
Cutting Interlocking Tiles:
- Measure and mark tiles, ensuring they are slightly longer than required.
- Use a sharp blade and metal ruler to make precise cuts, applying firm pressure.
3. Rubber Sheet Rolls

Rubber gym flooring rolls provide a seamless look and are ideal for larger gym areas. They can be installed with glue or double-sided adhesive tape.
Method 1: Using Glue
- Acclimatise the rubber rolls for 24 hours by laying them flat with the curve side up.
- Clean the floor thoroughly.
- Apply glue to the floor starting from the wall, following the adhesive guidelines.
- Place the first roll carefully into the adhesive, pressing firmly.
- Repeat glue application and roll positioning until the area is complete.
- Clean the finished surface with a vacuum and damp mop.
Method 2: Double-Sided Adhesive Tape
- Lay the rolls flat for 24 hours.
- Clean the installation area thoroughly.
- Apply tape to the wall edges to secure the flooring perimeter.
- Place the first roll, taping and securing it in place.
- Remove the tape film and fix the roll securely in place.
- Continue taping and securing rolls, joining each section with tape underneath for stability.
- Finish by cleaning the surface with a vacuum and damp mop.
4. Synthetic Turf and Tracks

Synthetic turf is often used for sled tracks and agility training areas. It requires a stable sub-base, such as concrete or compacted sand.
- Roll out the turf and allow it to settle for 24 hours.
- Clean the area to remove dust and debris.
- Apply double-sided adhesive tape in parallel strips, 30-40cm apart.
- Position the turf roll over the prepared area.
- Lay out the turf and remove tape film as you go, pressing the turf firmly to ensure a secure fit.
- Trim the edges as needed with a cutter for a neat finish.
- Vacuum the surface to remove any loose fibres.
Top Tip: For a more polished look, install a timber batten perimeter frame to secure the edges.
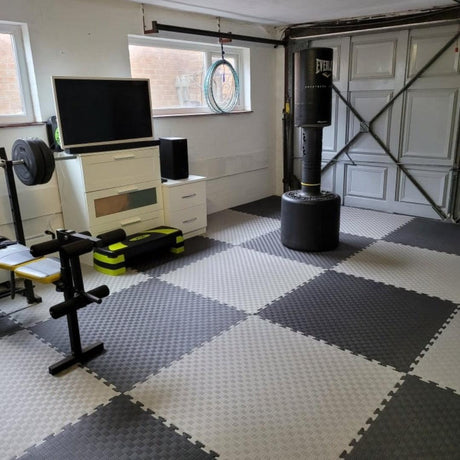
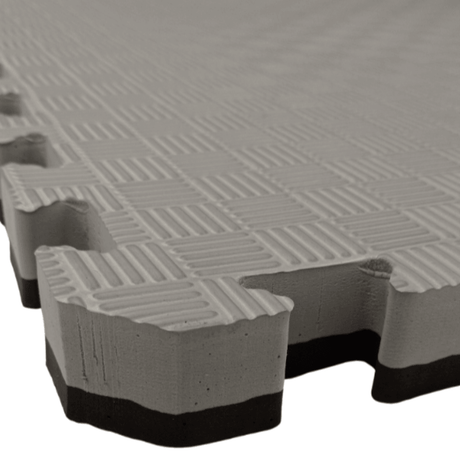
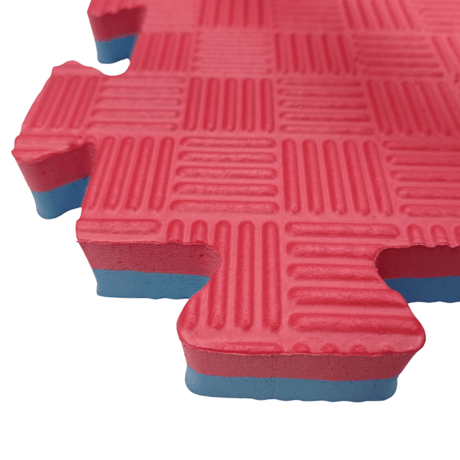
5. Puzzle Jigsaw Tiles

Puzzle tiles are easy to install and offer a quick, tool-free flooring solution.
- Acclimatise the tiles for 24 hours in the installation area.
- Clean the floor thoroughly.
- Determine the starting wall and align the tile edges against it.
- Interlock the tiles by aligning and tapping them into place with a rubber mallet.
- Continue laying tiles across the room, ensuring all hooks are properly secured.
- Finish the perimeter by attaching edge tiles for a complete fit.
- Vacuum and mop the area to remove any dust.
Cutting Puzzle Tiles:
- Measure tiles for edge pieces, adding a 5-10mm allowance.
- Use a sharp blade and ruler to cut cleanly along the marked lines.
Conclusion
Choosing the right gym flooring and installing it correctly is essential for creating a functional, long-lasting workout space. Each flooring type has unique properties, from the seamless look of rubber rolls to the versatility of interlocking tiles. Whether using compression, adhesive, or interlocking techniques, taking the time to install each material with care will ensure the best results for your gym space.
By following the recommended steps for your chosen material, you can confidently install home gym flooring that will stand up to intensive workouts and keep your space looking professional.